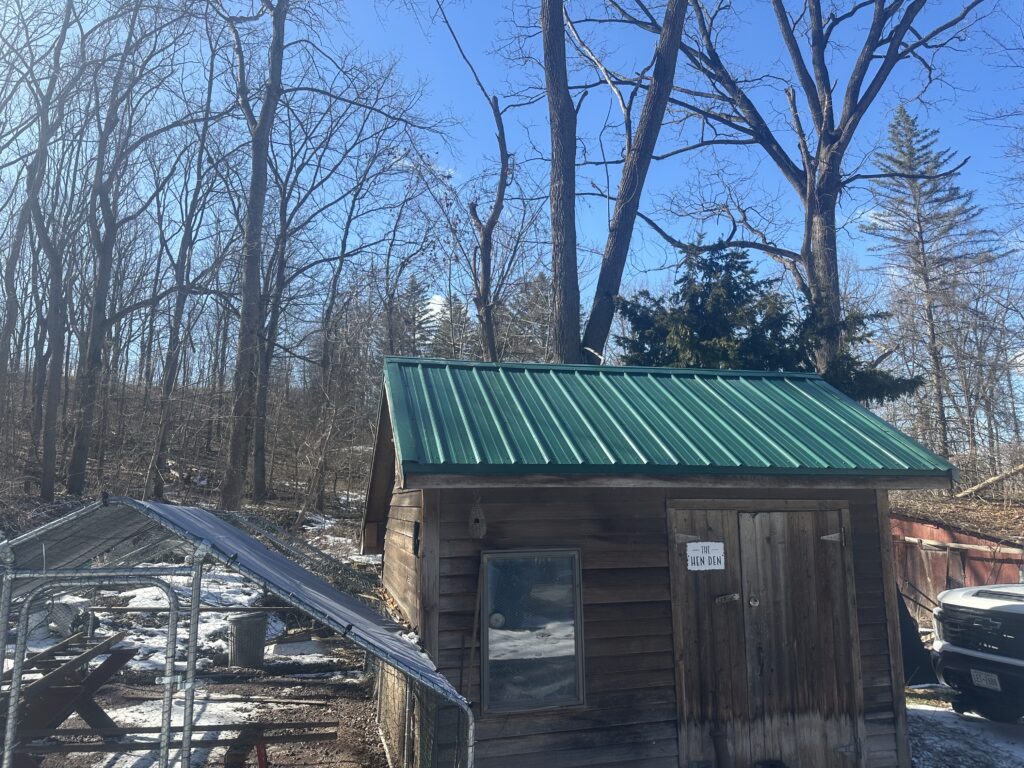
Installing metal roofing over plywood is a great way to create a durable, weather-resistant roof. Proper installation ensures longevity and prevents issues such as leaks and corrosion. Follow these steps to complete the job safely and effectively.
Materials Needed
- Metal roofing panels
- Roofing underlayment (synthetic or felt)
- Roofing screws with rubber washers
- 1×4 or 2×4 wood battens (optional, for ventilation and leveling)
- Metal trim and flashing
- Measuring tape
- Chalk line
- Drill with screwdriver bit
- Tin snips or metal cutting saw
- Safety gear (gloves, eye protection, harness if on a steep roof)
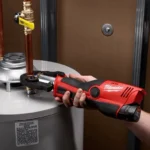
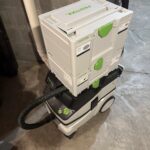
My favorite tools are listed below:
Step 1: Prepare the Plywood Surface
Ensure that the plywood is in good condition:
- Replace any damaged or rotting sections.
- Ensure the plywood is at least ½ inch thick for adequate support.
- Secure any loose sections with screws or nails to prevent movement.
Step 2: Install Eave Trim
Eave trim should be placed against the finished facia of your building. Ensure that your eave is straight as this will make the roofing process easier. Eave trim can be fastened using roofing nails.
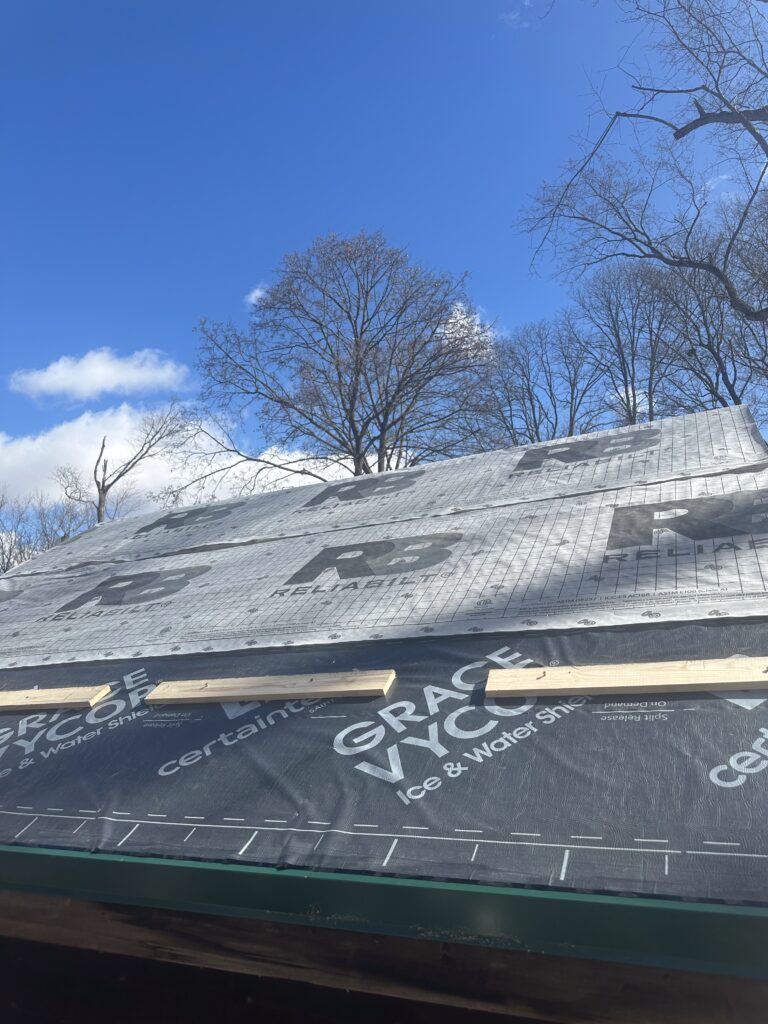
Step 3: Install Roofing Underlayment
Underlayment provides a moisture barrier between the metal roof and plywood.
- Roll out the underlayment across the roof, starting at the bottom edge.
- Overlap each row by at least 6 inches to prevent leaks.
- Staple the underlayment in place, ensuring a smooth, wrinkle-free surface.
Step 3: Install Wood Battens (Optional)
Wood battens create an air gap, improving ventilation and preventing condensation.
- Place 1×4 or 2×4 battens horizontally across the roof.
- Space them 12-24 inches apart depending on the metal panel size.
- Secure them with screws into the plywood.
If installing the metal roofing directly onto the underlayment, skip this step.
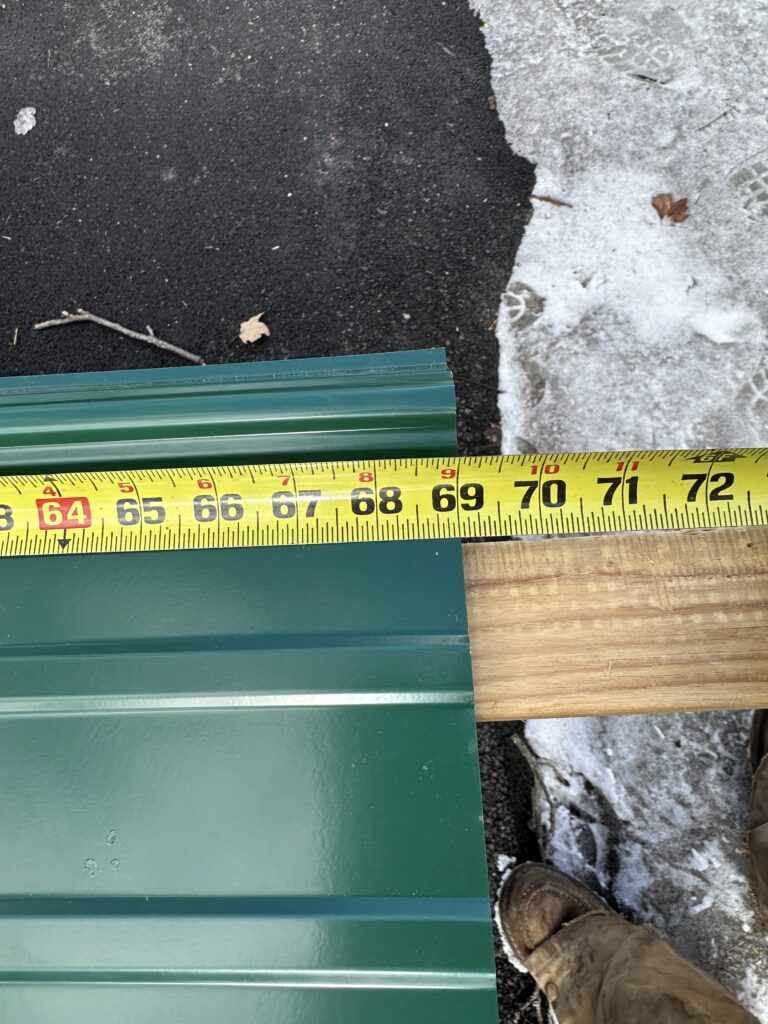
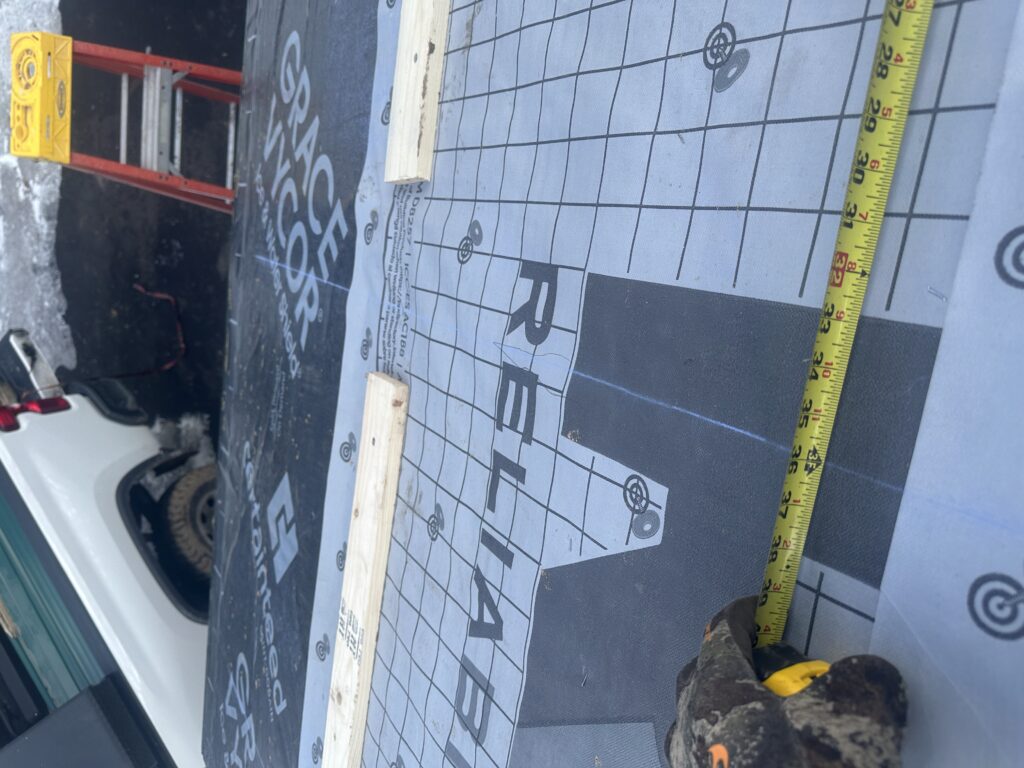
Step 4: Measure Roofing Material
- Measure the roof dimensions to determine the number of panels needed. Panels can be 2 inches down from the peak of the roof and should over hang the sheathing by 1 inch.
- Order Metal: Your local metal supplier will cut the panels to the exact lengths you need.
Step 5: Install the First Metal Panel
- Snap lines on the roof to ensure that your metal runs square to the eave.
- Start your metal on the side of the roof that allows the prevailing wind is not blowing into the overlap of the panels.
- Position the first panel so it overhangs the eaves slightly (generally about 1 inch).
- Use roofing screws with rubber washers to secure the panel.
- Place screws in the flat part of the metal (not the raised ridges).
- Space screws every 12-24 inches along the panel.
- Ensure the panel is square before final fastening.
Step 6: Install Additional Panels
- Overlap each new panel by one rib (or as specified by the manufacturer).
- Secure each panel with screws following the same pattern.
- Continue this process until the entire roof is covered.
- A nail set or awl can be used to punch the panels for the screws.

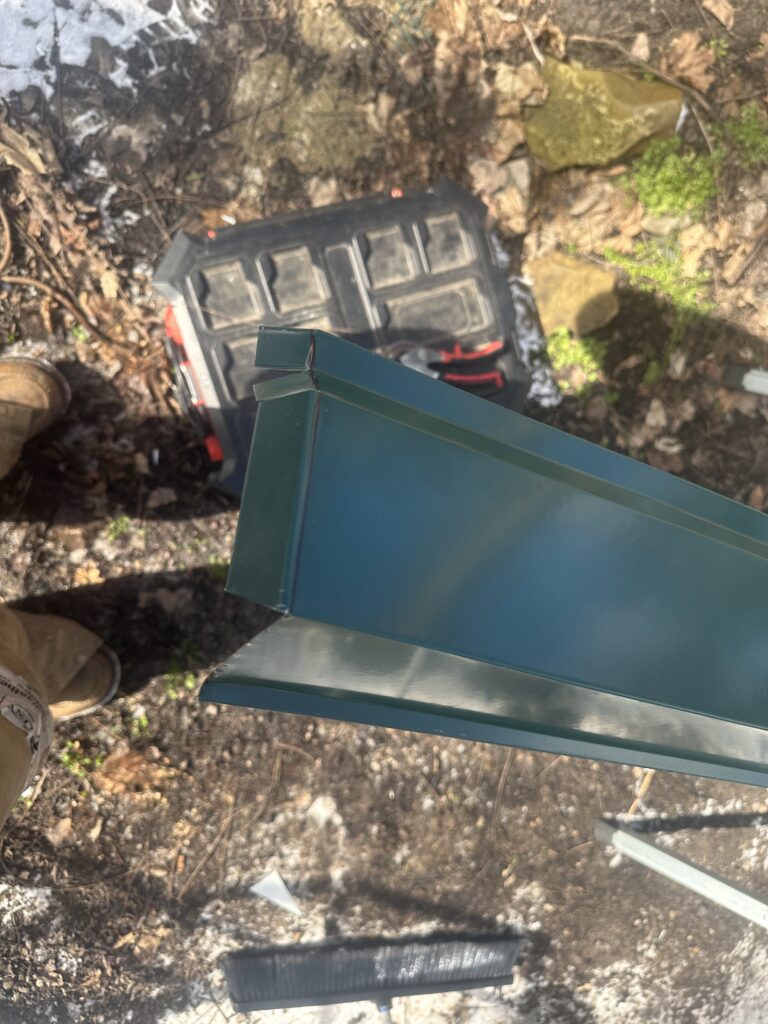
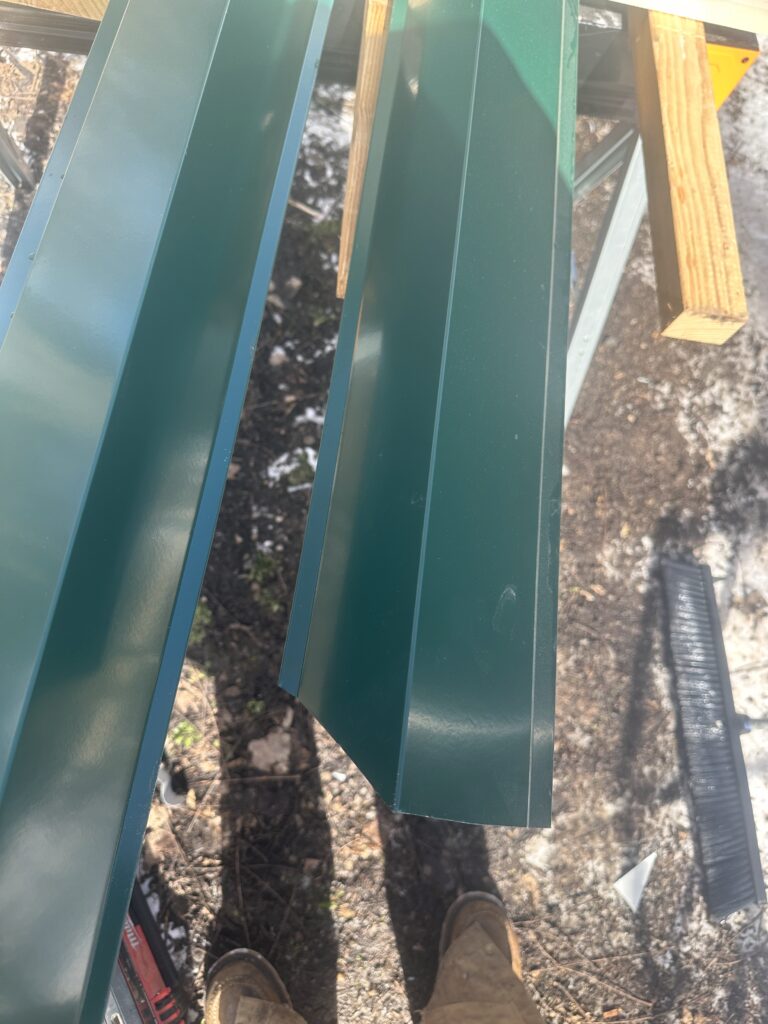
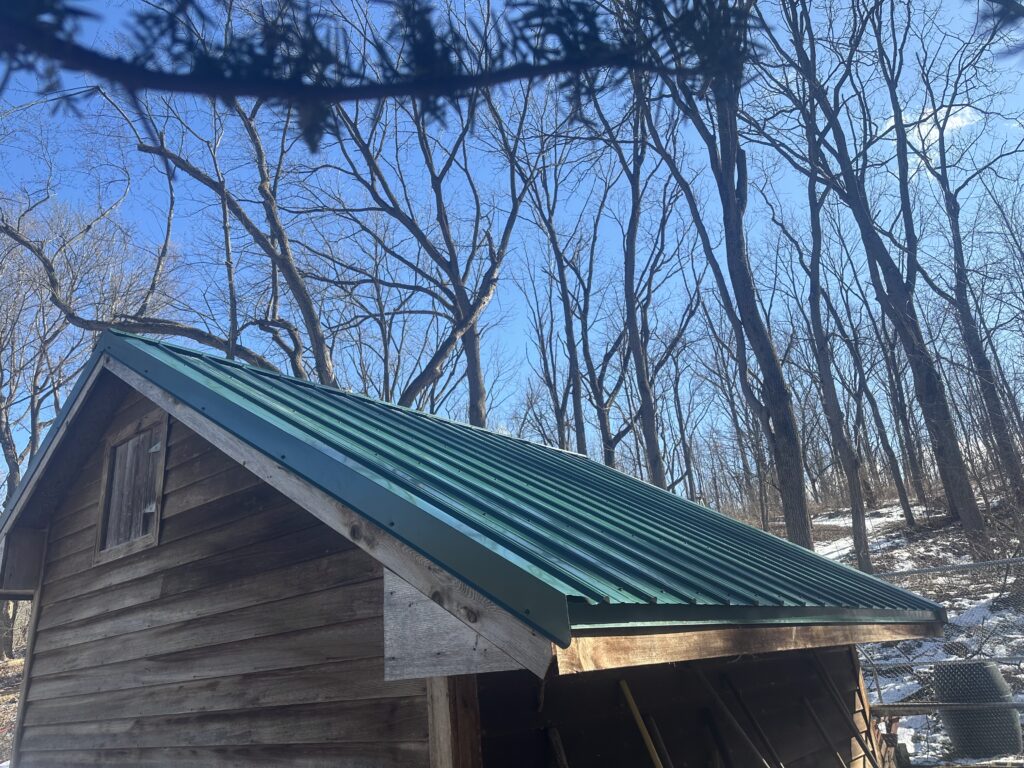
Step 7: Install Gable Trims
Gable trims are what finishes the outside edges of your first and last panel. One side of the gable trim runs past the peak and the finishing piece has a plumb cut on it to give the trim the mitered appearance that everybody loves.
- Measure and cut the first gable trim piece. Typically gable trims over hang on the eaves 1″. Tabs are cut and bent to ensure that no framing lumber can be seen and so that the joint is flashed appropriately.
- Plumb cut the second piece to fit your roofs pitch.
- Secure with screws and seal behind the joints overlap if desired.
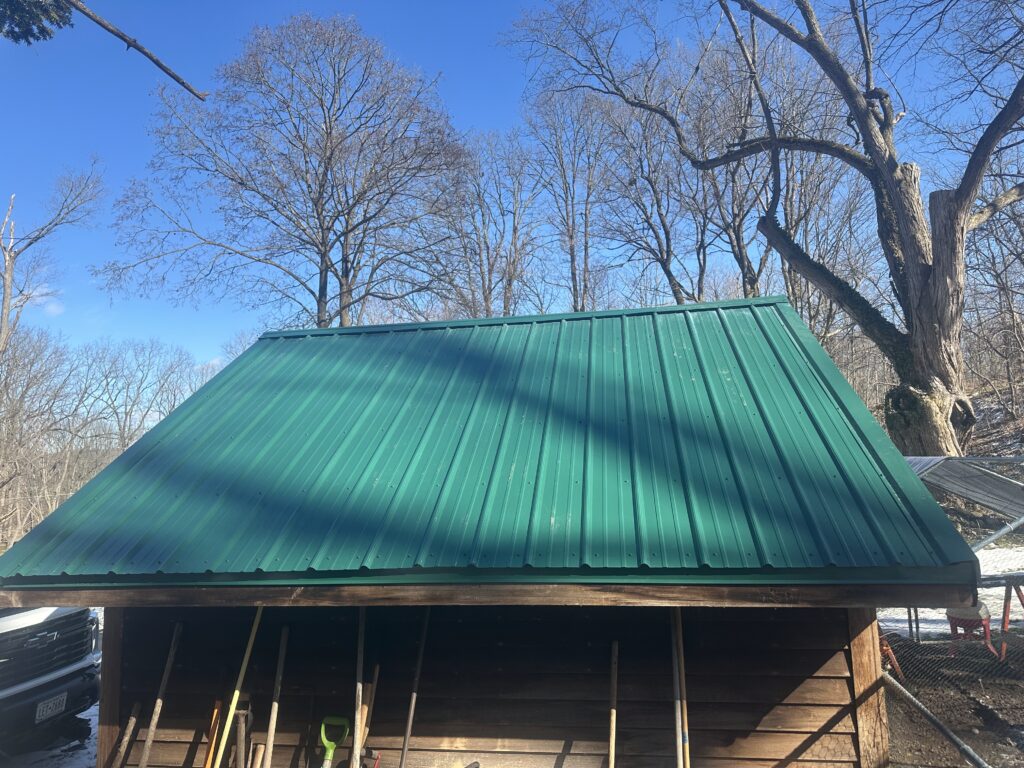
Step 8: Install Ridge Cap
- Measure your ridge cap to determine how far from the peak one edge of your ridge cap lands
- Snap a line on one side of your roof at the dimension from the peak.
- Some ridge caps feature a foam strip to prevent bugs, animals, and snow from getting into your building. Install this if required.
- Fasten you ridge cap through the high rib of your roof panels.
Step 8: Inspect and Finish
- Check all screws to ensure they are tight but not over-tightened.
- Seal any gaps with roofing sealant.
- Ensure proper drainage by checking the panel alignment and overhang.
Final Tips
✔ Work with a partner for safety.
✔ Wear gloves to protect your hands from sharp edges.
✔ Follow the metal panel manufacturer’s installation guidelines.
✔ Use a harness and secure ladder when working on steep roofs.
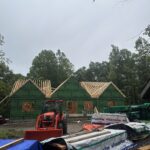
Read about post frame construction that usually utilizes at metal roof! Link below.