If you’ve ever installed cabinet doors, you know that a good hinge makes all the difference. That’s why I always turn to Blum 38N hinges. Blum has been a leader in cabinet hardware for decades, producing high-quality hinges, drawer slides, and lift systems that professionals swear by. Their products are known for durability, smooth operation, and easy adjustments—all essential for a perfect cabinet fit. Today, I’ll walk you through how to install Blum 38N hinges so your cabinet doors look great and function flawlessly.
Table of Contents
Tools and Materials Needed
- Blum 38N hinges (two per door)
- Cabinet doors
- 35mm Forstner bit
- Phillips screwdriver/Impact Driver
- Drill and Drill bits
- Measuring tape
- Pencil
- Clamps (optional)
- Screws (included with hinges)
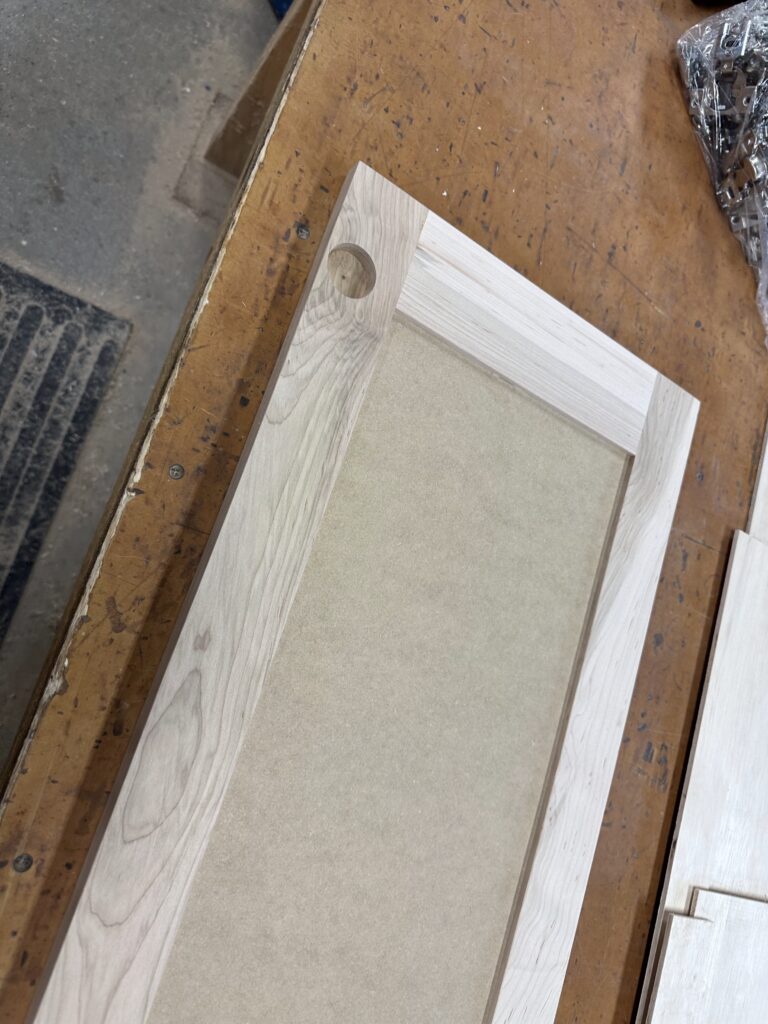
Step 1: Mark the Hinge Placement
First, I lay the cabinet door on a flat surface. Then, I measure 3 inches from the top and bottom edges of the door and mark these spots—this is where the hinge cups will go. To ensure accuracy, I use a combination square to mark the exact center of each hinge cup hole.
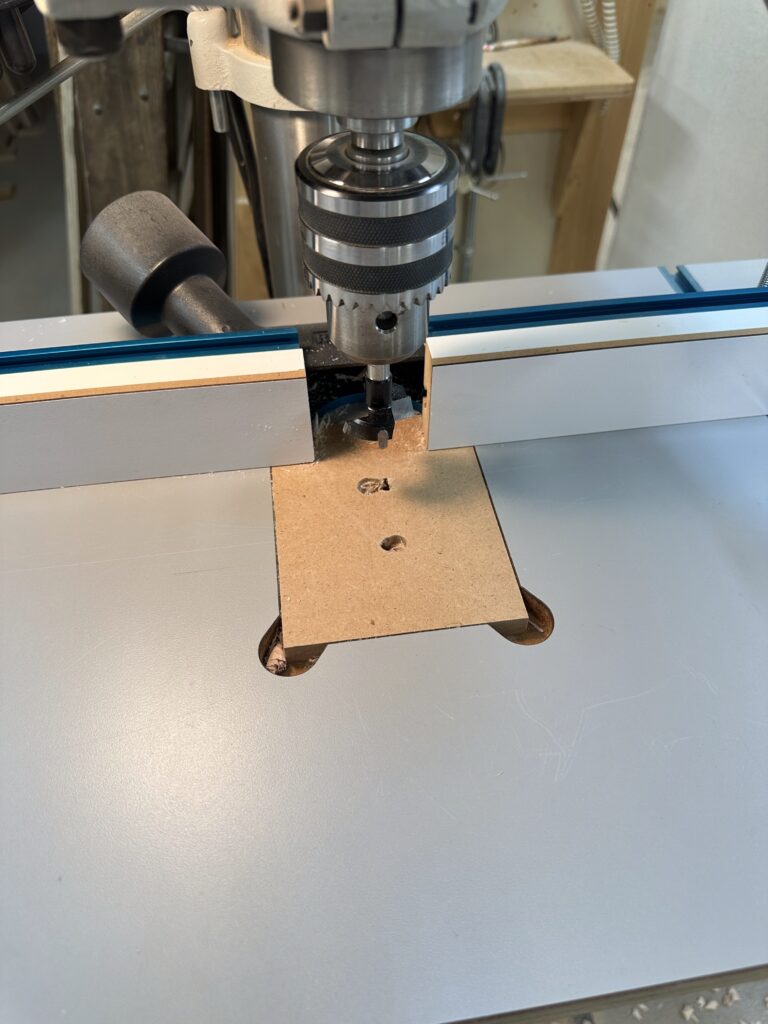
Step 2: Drill the Hinge Cup Holes
Now comes the fun part—drilling. I attach a 35mm Forstner bit to my drill press and carefully drill into my marked spots. The exact cup location can be found using this reference sheet. Blum recommends a 13mm (1/2″) depth. I use a drill press with a fence to ensure the offset is the same for every hinge. But this can be done with a handheld drill as well. A clean, precise hole makes installation much easier.
The 35 mm bit I use can be purchased here
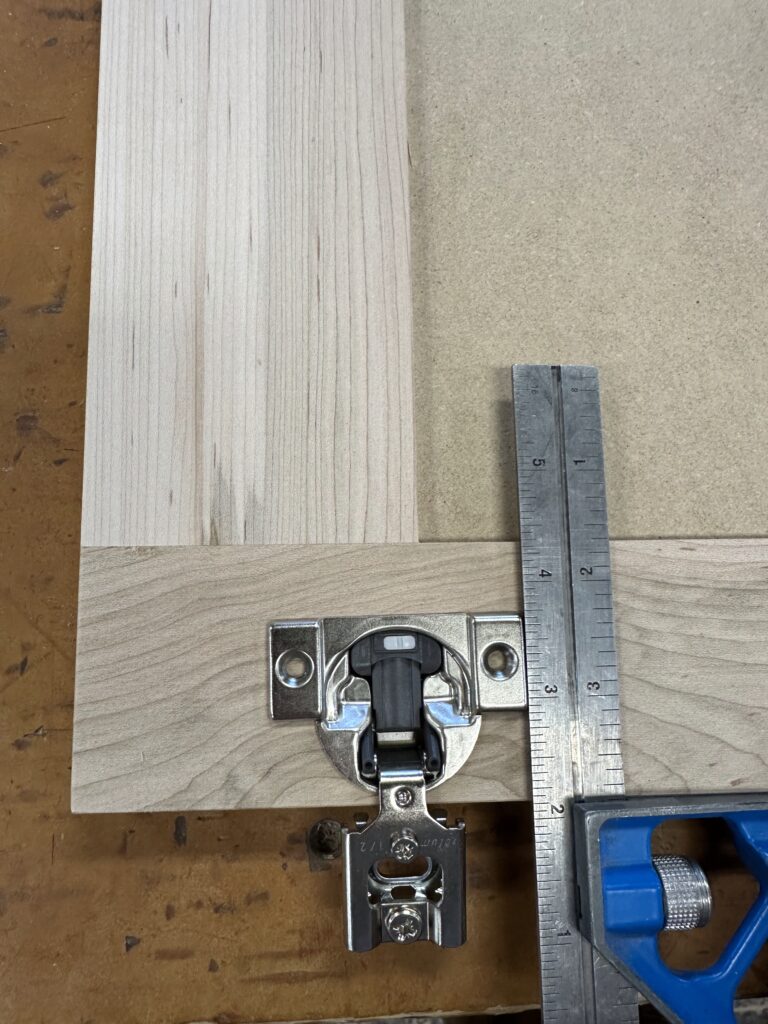
Step 3: Install the Hinges on the Door
Once the holes are ready, I insert the Blum 38N hinges into place. To ensure the hinge is perfectly square to the door, I use a square placed on one side of the hinge for alignment. I then mark the screw holes and use an awl to create small indentations before drilling. This prevents the bit from wandering, ensuring precise placement. Once everything is aligned, I secure the hinges with the provided screws.

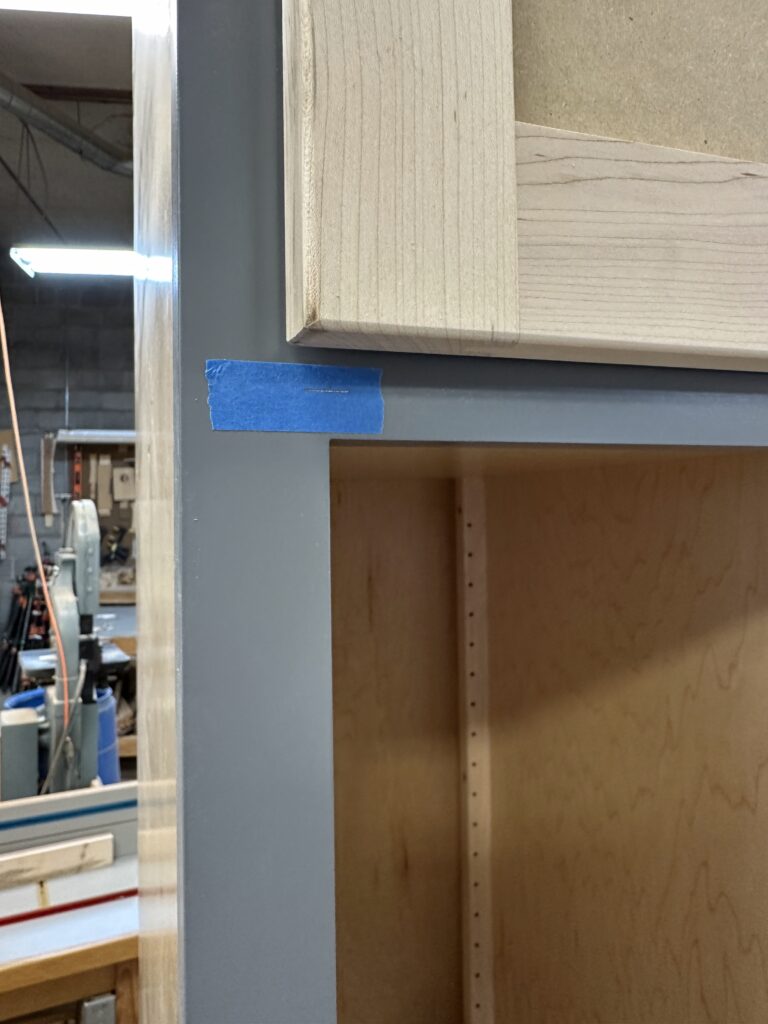
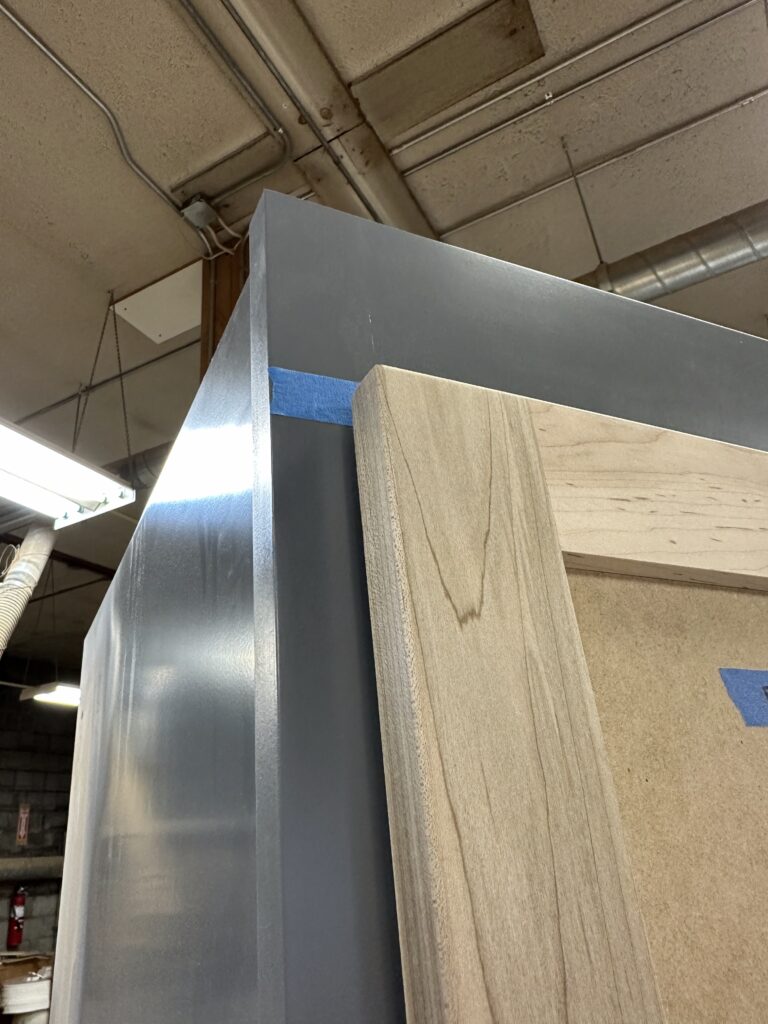
Step 4: Layout the Door Position on the Cabinet
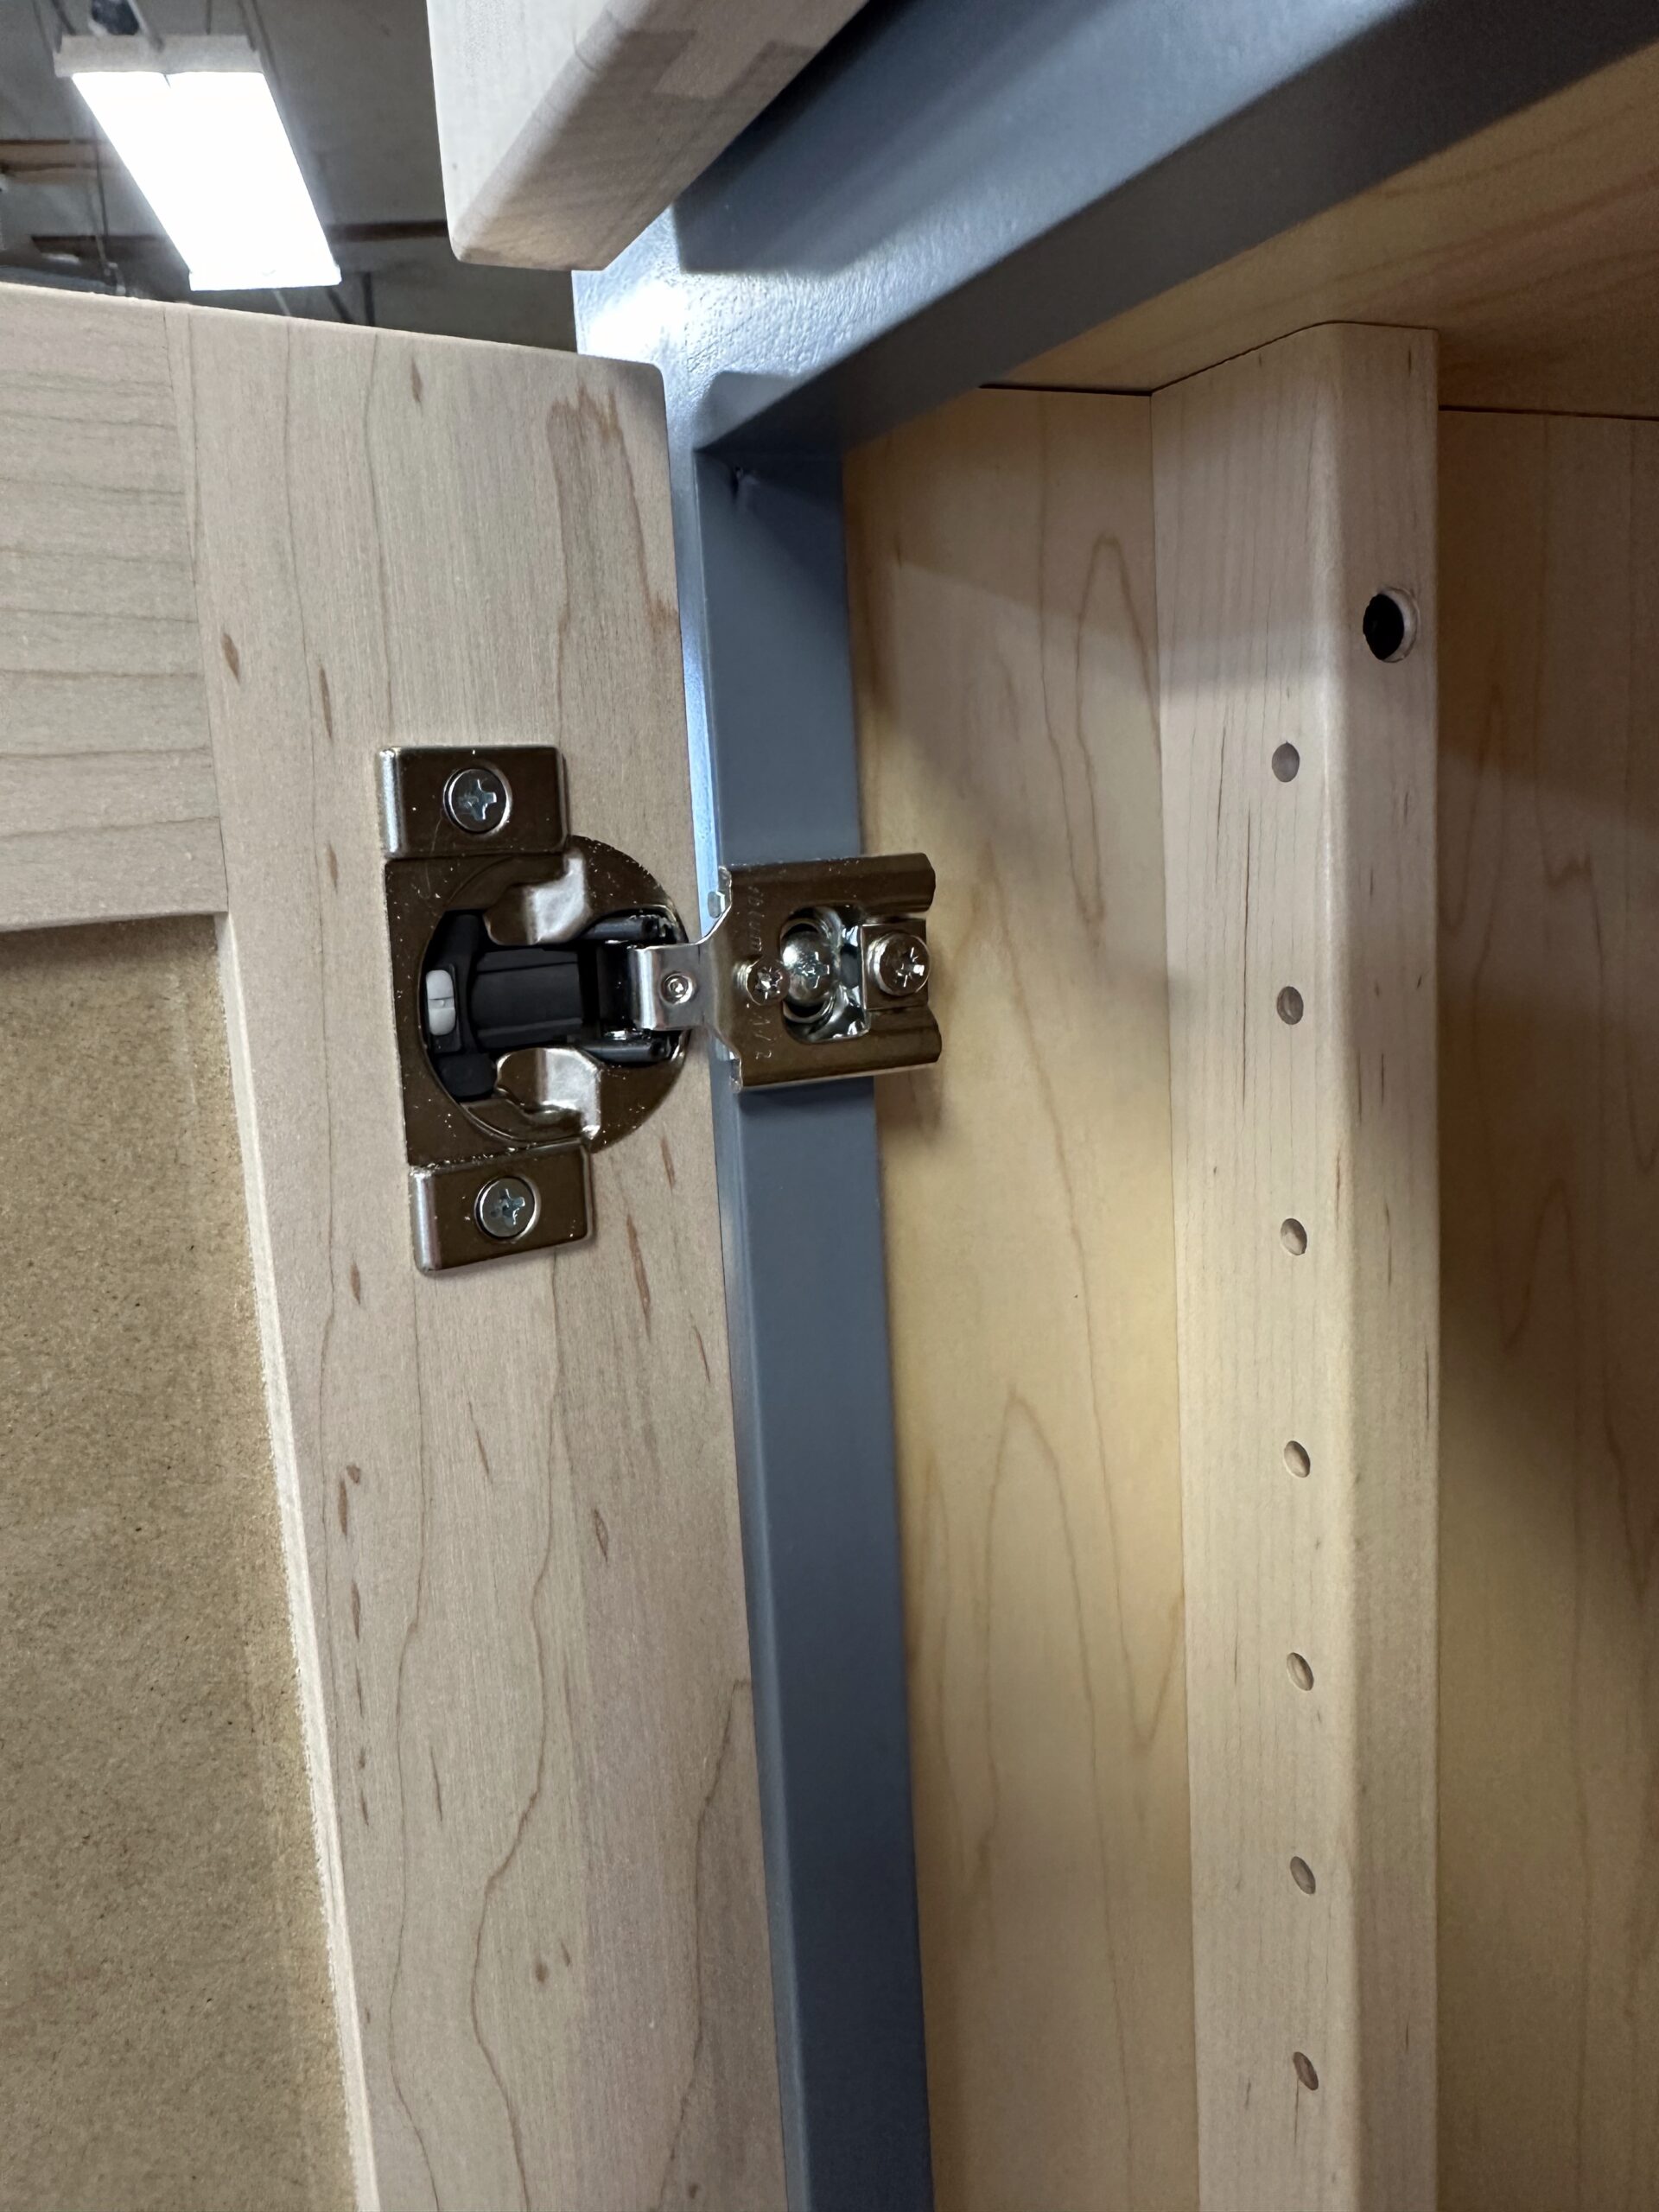
Next, I determine exactly where the cabinet door will sit. My doors overlap the face frame by 1/2 inch, so I use painter’s tape to mark this position on the cabinet. With the hinges already attached to the door, I hold the door in place along this mark and carefully trace the slots in the hinge plates onto the cabinet. Then, I use an awl to punch a hole in the center of each slot. This ensures the drill bit drills precisely where needed. After pre-drilling the holes, I attach the door to the cabinet using truss head screws.

Step 5: Adjust the Hinges for a Perfect Fit
One of the reasons I love Blum 38N hinges is how easy they are to adjust. If the door isn’t sitting just right, I fine-tune it using the built-in adjustment screws:
- Depth Adjustment: Turning the rear screw moves the door in or out.
- Side Adjustment: The side screw shifts the door left or right.
- Height Adjustment: Loosening the mounting screws lets me move the door up or down.
Blum’s Pozi adjustment screwdriver can be purchased here

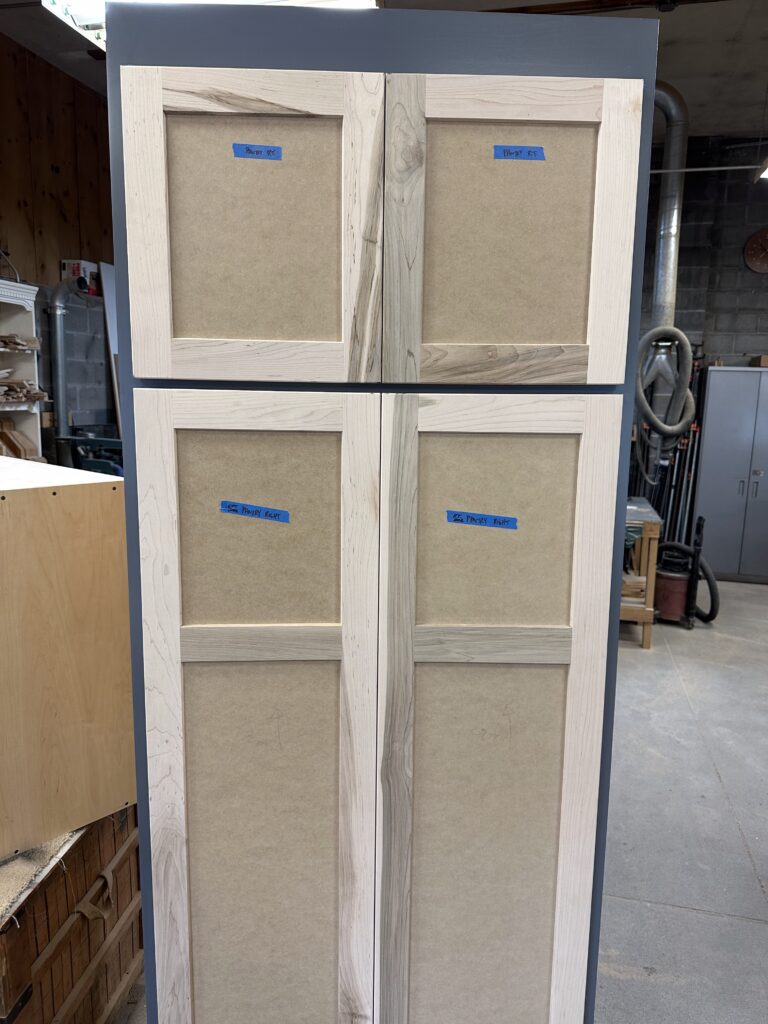
With a few minor tweaks, I can get a perfectly aligned, professional-looking cabinet door every time.
Final Thoughts
Installing Blum 38N hinges is a straightforward process that makes a big difference in how your cabinet doors function. Blum’s dedication to quality and innovative design means these hinges will last for years, providing smooth and reliable operation. Plus, the soft-close feature is a game-changer, preventing slamming and extending the life of your cabinets. With the right tools and a bit of patience, you can achieve a professional-quality installation in no time.
Give it a shot, and enjoy the smooth, seamless function of your new hinges!
Blum’s 38N Hinges can be purchased here
Once you got your doors fitted nice its time to Install those cabinets! Learn about the best levels on the market to get your cabinets installed perfectly every time! https://thetoolbeltdigest.com/why-every-pro-needs-a-stabila-level-for-precision-work/