Butcher block is hands down one of my favorite counter top options for kitchens. It brings warmth, durability, and character to a kitchen like nothing else. Butcher block comes with cost savings when compared to other countertop options and that added perk that you can do it yourself. It takes a little finesse and the right approach to get a seamless fit but with a little guidance and some patience you will not be disappointed with the results! If you’re wondering how to cut and install butcher block countertops, this guide will walk you through the process step by step.
Table of Contents
Materials and Tools
- Track saw or saw guide (LINK)
- Clamps (LINK)
- Biscuit Joiner (LINK)
- Dog Bone Connectors (LINK)
- Glue (LINK)
- Butcher block oil (LINK)
- Cabinet screws (LINK)
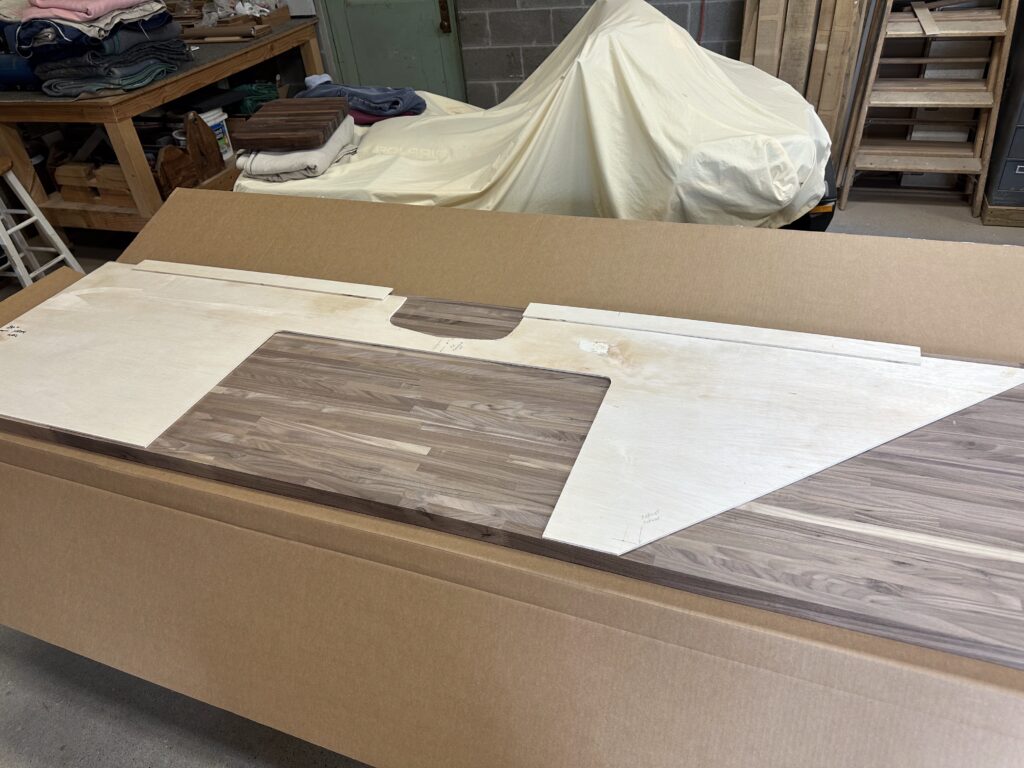
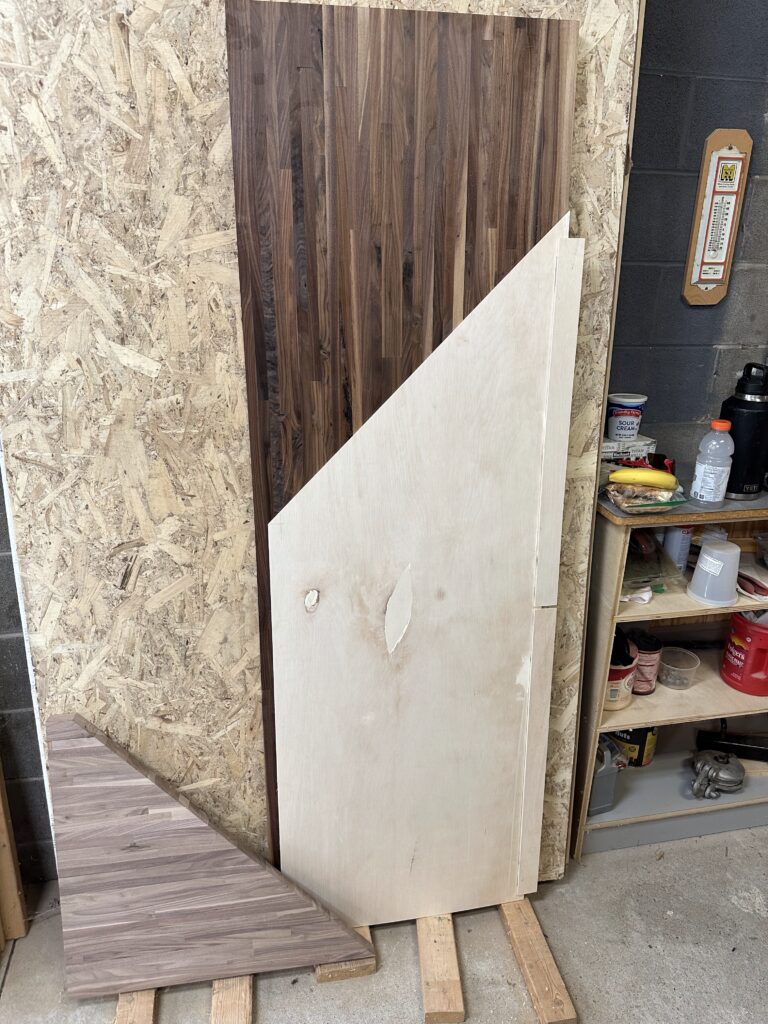
Step 1: Make a Template
Before I make a single cut in the butcher block, I like to create a template out of 1/4-inch plywood. This helps ensure a precise fit, especially when dealing with irregular walls (which, let’s be honest, is almost every wall). I cut the plywood to the size of the butcher block countertop and then scribe it to the wall where necessary.
Scribing for a Perfect Fit
To scribe, I use a compass or scribing tool to trace the wall’s contour onto the template. Then, I trim the plywood with a jigsaw or block plane to match the scribed line. This way, when I transfer the shape to the butcher block, I know I’ll get a snug fit without unsightly gaps.
If you kitchen will have a backsplash with some thickness. Scribing my not be necessary, the backsplash could potentially cover up any inconsistencies in the wall.
An equal overhang is the name of the game. This is what people will notice if anything is off with your countertop. So if you scribe to the wall, position your countertop an equal distance from the edge of your cabinets and set your scribe so that your finish dimension gives you the desired overhang. If you are not scribing you can simply rip the countertop to the desired width.
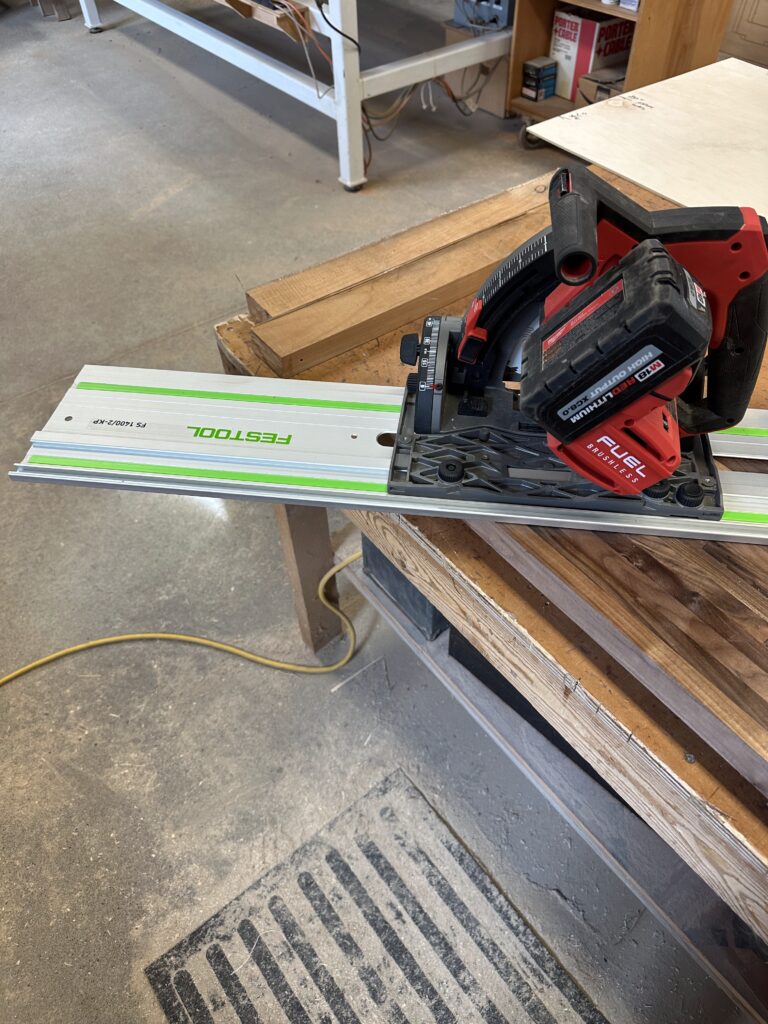
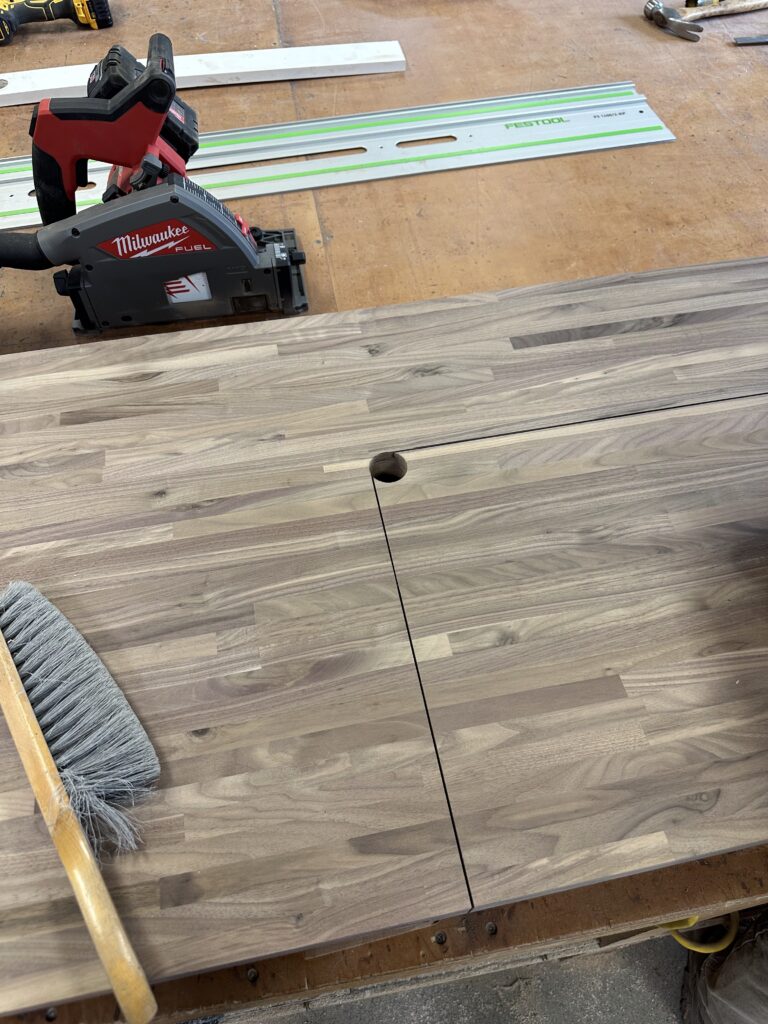
Step 2: Cutting the Butcher Block
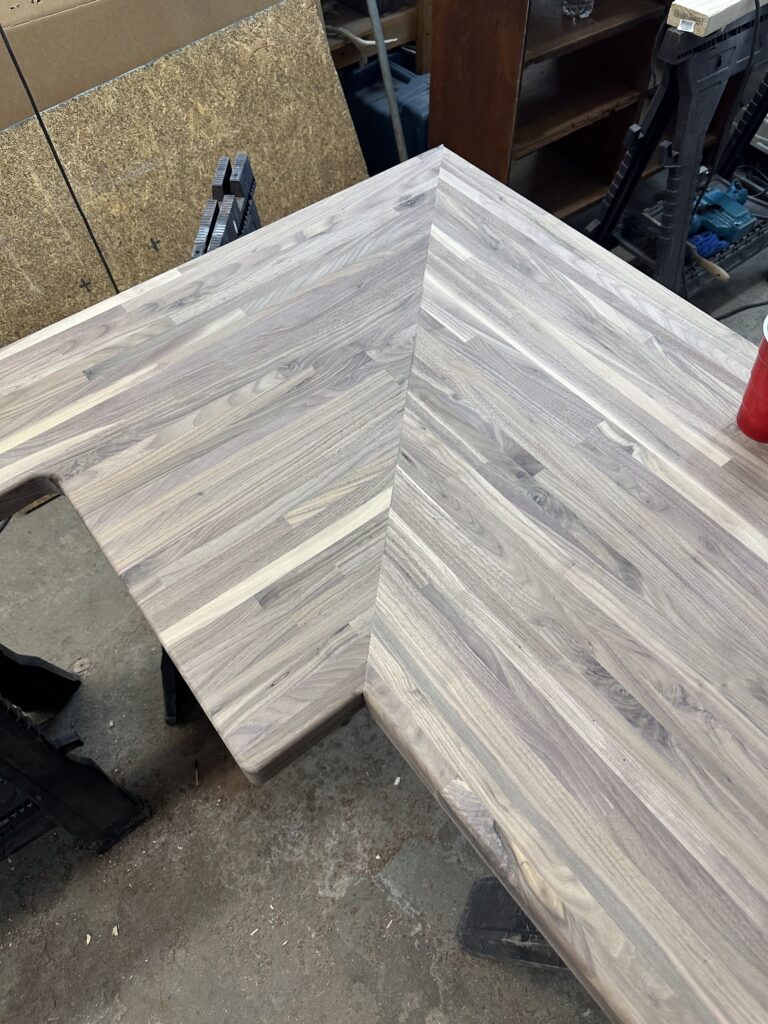
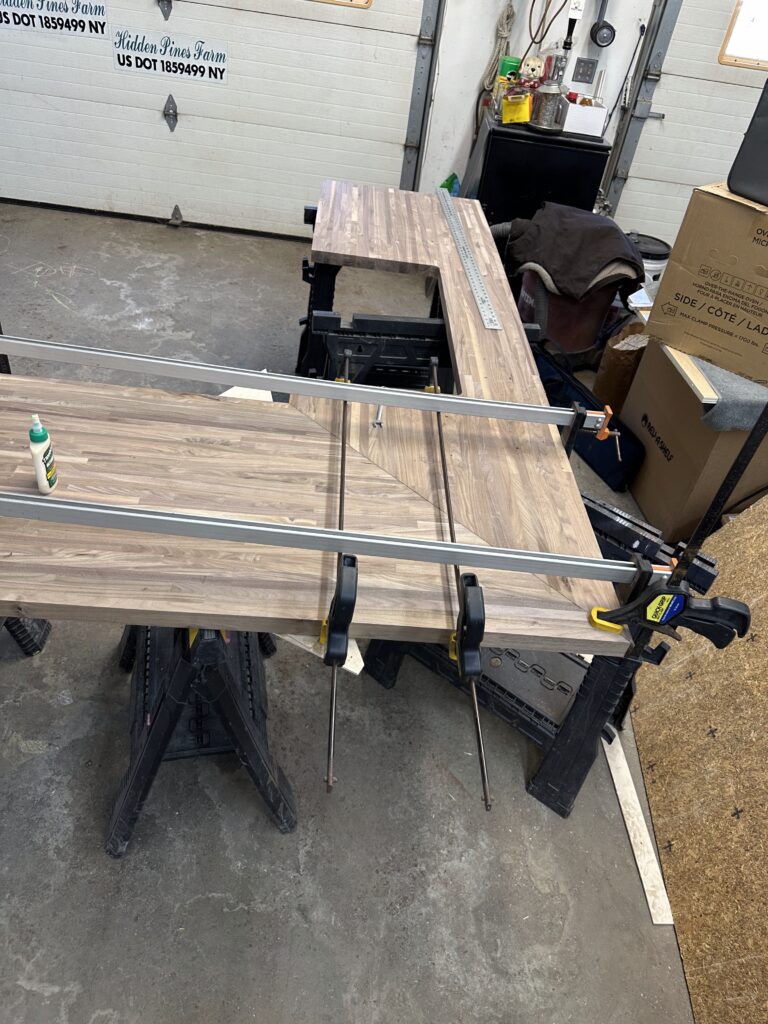
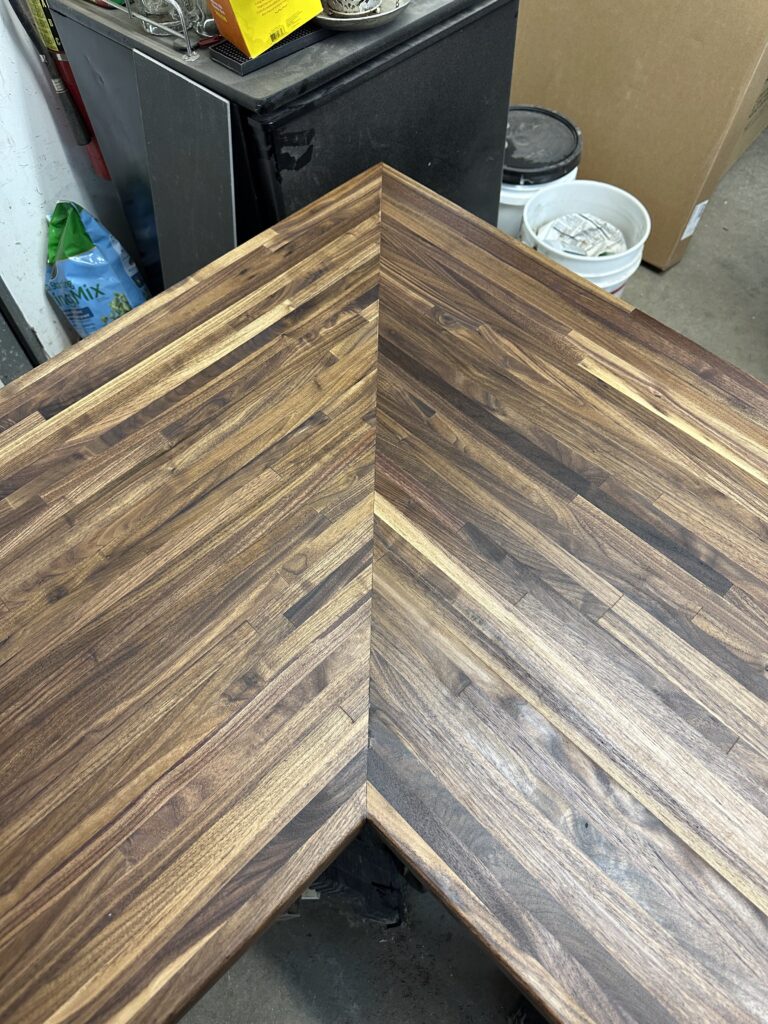
With the template dialed in, I transfer the outline onto the butcher block countertop. If I need to join two pieces at a corner, I prefer cutting a miter joint for a seamless look. A track saw with a sharp blade is my go-to tool for cutting butcher block countertops—clean, straight cuts every time.
Your butcher block comes in long pieces so it is important to make sure the top is adequately supported while making cross cuts.
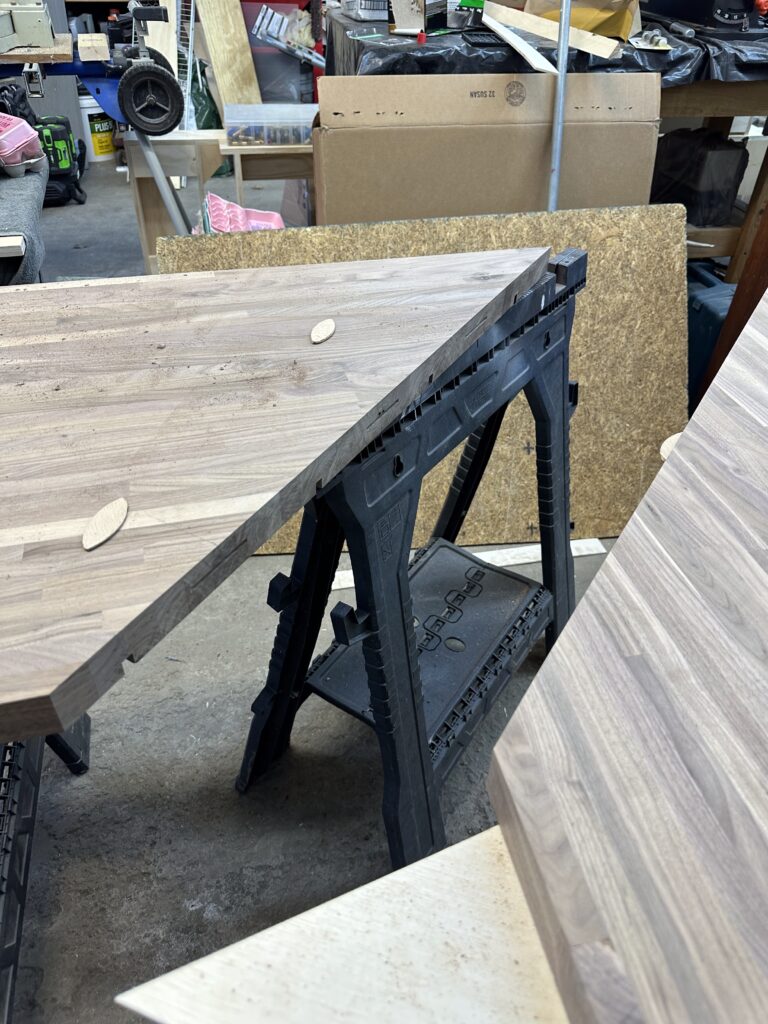
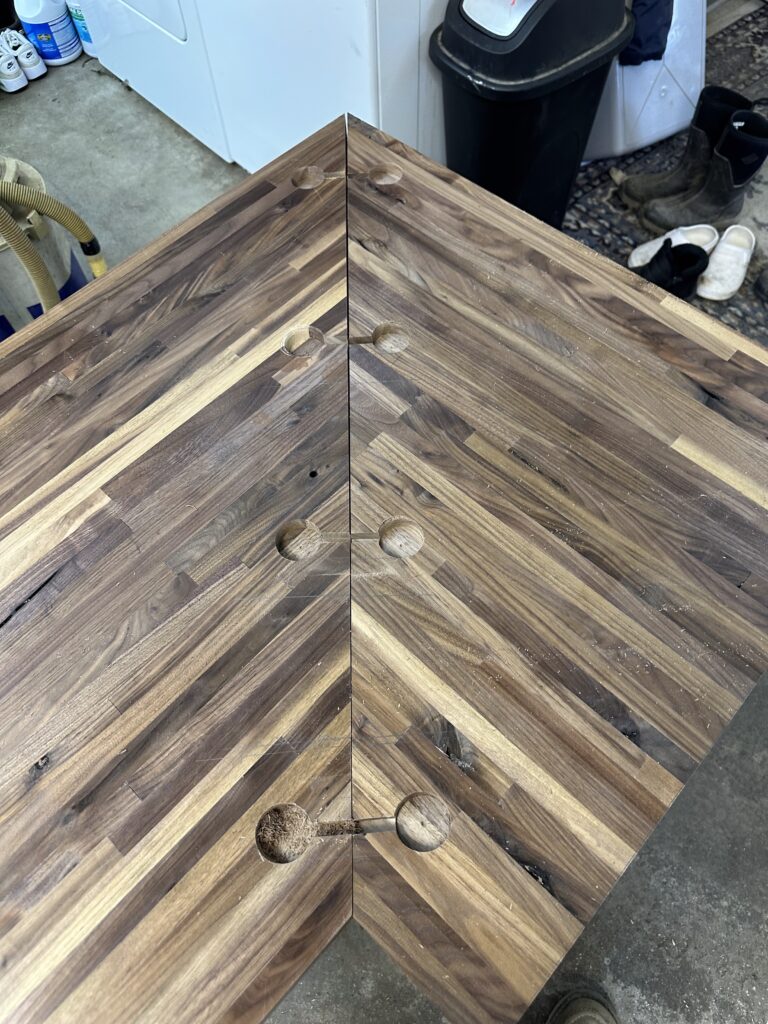
Step 3: Joining the Pieces
For butcher block countertop installation, I use countertop connector bolts (also called dog bone connectors or draw bolts). These are installed in routed slots on the underside of the butcher block and help pull the joint tight.
To keep the alignment perfect, I also add biscuit joints. Using a biscuit joiner, I cut slots on both sides of the joint and insert wood biscuits with a little glue. This prevents the two pieces from shifting while clamping and drying.
Step 4: Glue-Up and Clamping
When it comes to the glue-up, coverage is key. You don’t want to have an excess of glue that oozes all over but complete coverage of all the mating surfaces is important. I apply waterproof wood glue along the entire joint and inside the biscuit slots, then bring the pieces together. The countertop connector bolts get tightened, pulling everything into place. I also clamp across the joint in both directions to ensure a solid bond and let it sit overnight or at least for the recommended drying time.

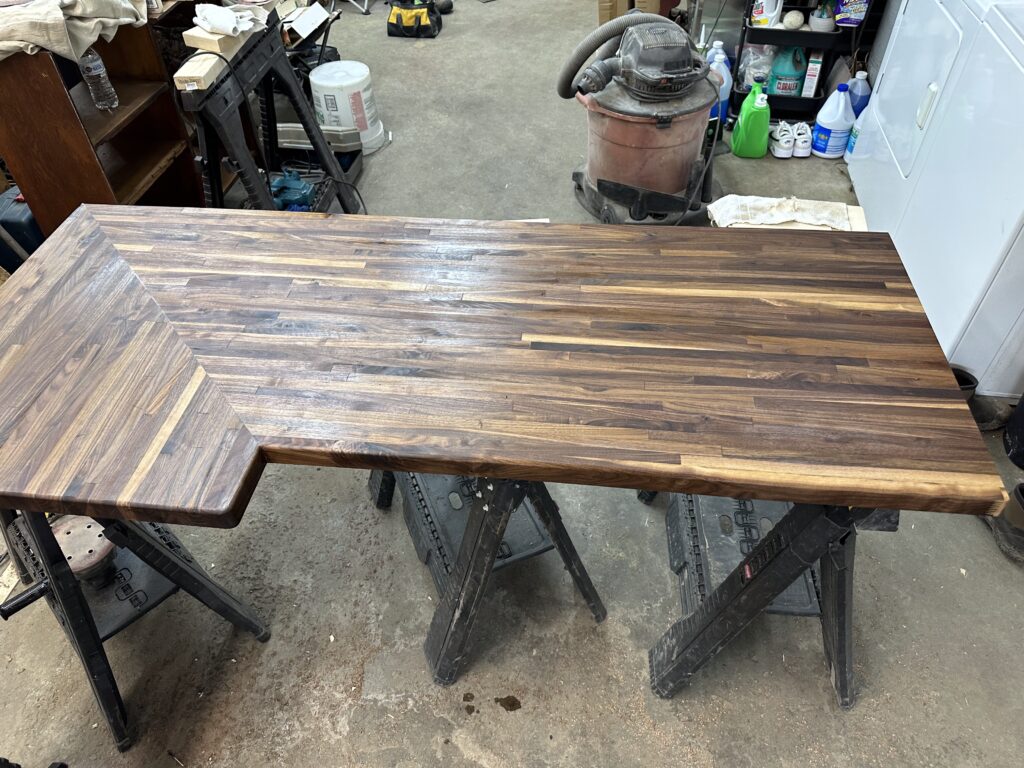
Step 5: Round the Edges
The edges of your countertop should be finished in some way. Whether you choose to chamfer or round them over is up to you! I generally like the rounded look. For the counter top, I used a 1/4″ round-over bit in my router and hit all the edges. The corners were rounded over using a radius jig and a pattern bit.
Step 6: Finish the bottom side
It is just as important that the bottom side of the countertop is finished as the top. This will ensure that the entire piece is sealed. If one side of the wood is left unfinished it can lead to unequal moisture fluxuations and clean lead to warping and cracking over time.
To finish the backside of the countertops I use a polyurethane finish. This is because I can do it once and it will need no further maintenance. The bottom side of the countertop does not need a food safe finish.
Step 7: Finish the Top Side
To protect the surface, I apply a food-safe finish like mineral oil or a butcher block conditioner. This enhances the wood’s natural beauty and helps prevent drying and cracking. Regular maintenance with oil keeps it looking fresh for years to come.
Butcher block oil is can be applied with a rag or a brush. Generally you apply to oil, let it sit, then wipe off any access. Follow manufactures guidelines for specific instruction
Maintenance of a butcher block oil is important. It is not a one-time deal. It has to be done somewhat regularly as your countertop ages.
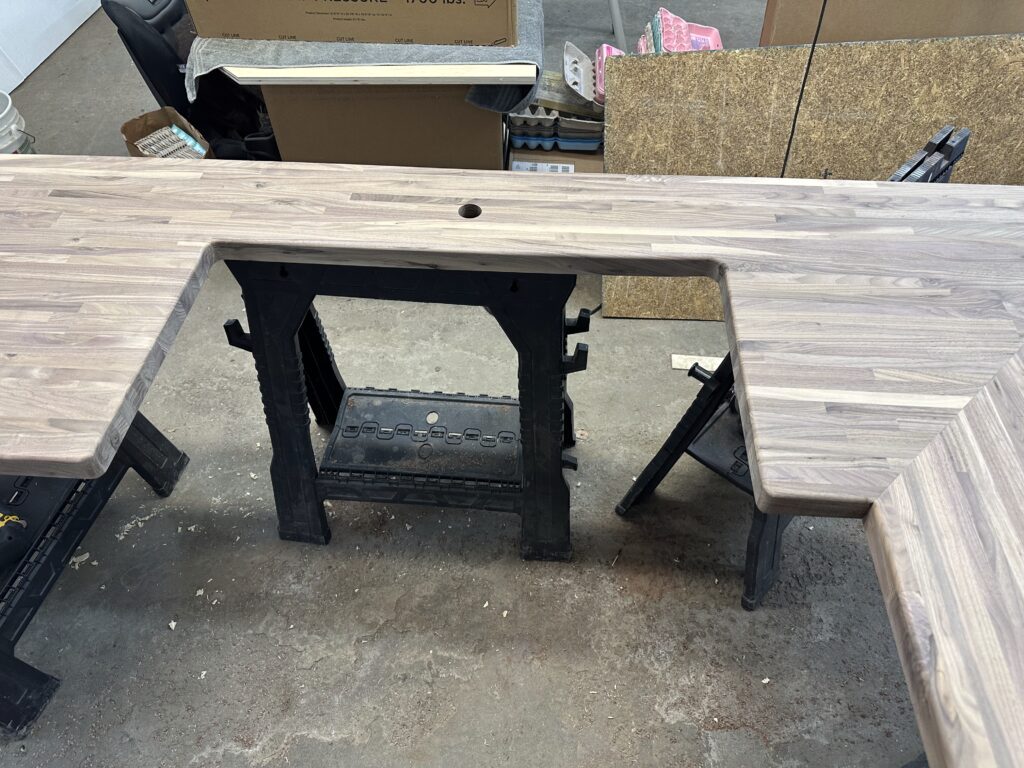
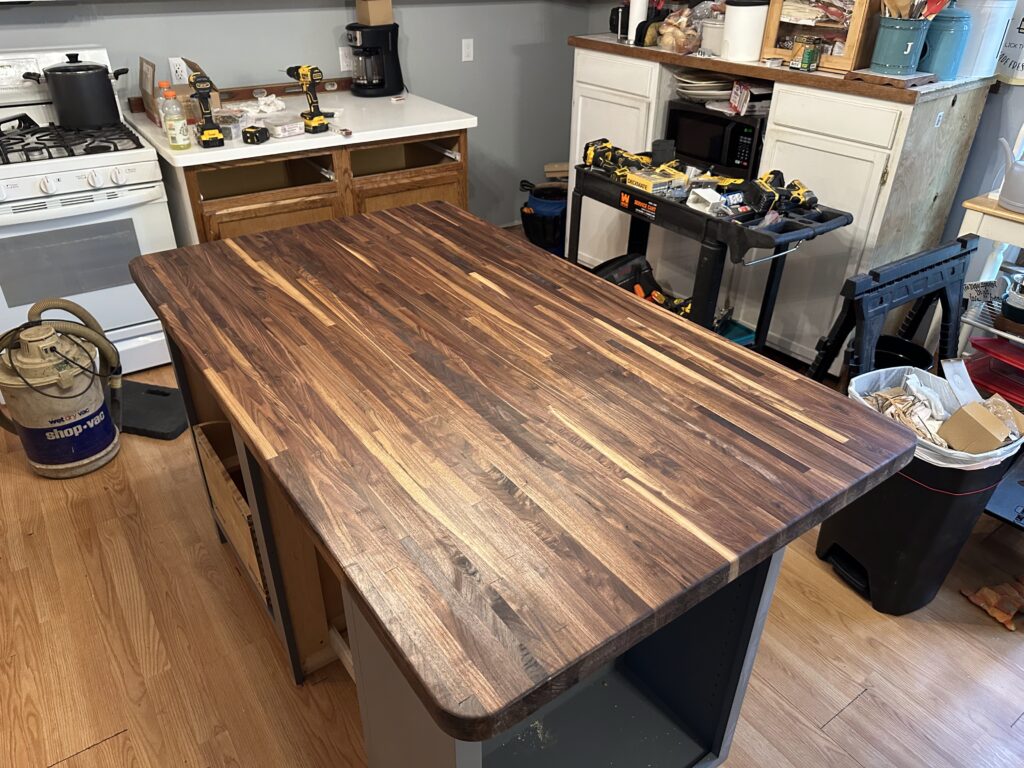
Step 8: Installation
Assembled countertops should be moved with care. While the joints are extremely strong, caution should still be used. The countertop should be slid/set into place and secured using screws from the top of the cabinets up into your countertop. If you have a sink cutout, silicone should be applied to the top side of the sink to prevent water from getting into places you don’t want it.
Finishing Touches
And there you have it—a rock-solid, well-fitted butcher block countertop installation. It takes a bit of patience and precision, but the end result is always worth it. If you’re tackling this yourself, take your time, measure twice (or three times), and enjoy the process!
If you’re thinking about doing your own kitchen check out my cabinet door hinge installation article!